Friday, July 18, 2014

Just had to make it mine!


I just had to try making some custom grips for my new 1911. Bought the whitest piece of craft wood I could find and cut, carved and sanded them to fit me. They feel great and I also did some filing on the left side safety. After initial issues I now have 450 problem free rounds down range. I am finally going to get to shoot it for accuracy.

Friday, June 20, 2014

Oh no!!!! Not another one.

I have been wanting a metal semi automatic pistol that is hammer fired. My S&W M&P is a plastic bodied striker fired semi automatic and is a great gun. A hammer fired pistol usually comes with a much better trigger. After a bunch of internet research and talking to the guys at the range I decided on a 1911 model. The design of this pistol was first put into service in 1911, hence the name. Well, you can pay thousands of $ for a 1911 or you can go the cheap route and buy a imported model from the Philippines. I did some research and decided to go the cheap route. I also needed to decide on a caliber as the original was 45 ACP. I have shot a 45 1911 at the range and because of the design the gun was very comfortable to shoot, just expensive. Since 9mm is what my S&W is I decided on a 9mm 1911. This limited my choices significantly. I ended up with a Rock Island Armory 1911 9mm tactical version. The tactical version is more expensive but comes with things I would want to add anyhow (trigger and sights). So here it is"


 I added the second picture to show the sights I painted as it came with black front and rear sights. Also I add some finger grove grips. They are put on under the stock wood grips. Trigger needs a little work.

Well, the first 400 rounds was a pain in the ass. I kept having extraction issues. Since I had broken the gun down way past the normal field strip to get all the shipping grease out of it, I was confident enough to attempt a fix for the problems I was having. I purchased a new extractor, installed it and properly tensioned it and headed to the range. Well everything worked great and I shot 100 rounds without 1 issue. Gun is fun to shoot and very accurate. 

Saturday, April 12, 2014

Final Update

Bluing and grips done. Shot it yesterday and still very heavy trigger. But was a fun project.

After


Before


You might be able to see all the rounding of the sharp edges that I did. Most noticeable is in front of trigger guard.

Saturday, April 5, 2014

Project Update Two

Finally stripped off all the paint. Polished it up some more and decided to attempt bluing it. The best bluing process is 'hot' bluing and takes several different nasty chemicals, I am not doing that. I bought a 2 oz tube of Birchwood Casey bluing paste. This process is called 'cold' bluing and is not ad deep and strong a finish. This is not a problem as this was, and is, a POS hand gun. I also did a bit more work on the grips and they are really close to being complete. Here it is now:


The bluing will take another coat and I am not showing the other side. The other side include the side plate that you remove to get to the internals. It is made of a different metal and did not come out like I wanted. I'll have to figure out what to do about it.

I shot it on Thursday and still had some FTF. They all fired the second time around. So I just keep pulling the trigger until I get 7 bangs. Hopefully it's due to old ammo. I did polish up the hammer and spring rod and it smoothed out the trigger pull a lot. I have found another spring that will fit and it is lighter so I am going to try that out after I fine some 22LR ammo.

Thursday, April 3, 2014

Project Update

The gun needs to be refinished. I made an attempt at painting it with high temp black paint. I didn't like the way it looked so I stripped it all off and ended up with what you see below. I also decided to make some grips for it as the plastic ones make a cheap gun look even cheaper. 

So here is what I have done so far:

With a file I rounded all the sharp edges. All edges were sharp.

Stripped off old finish and paint, haven't done the cylinder yet and I probably will strip it soon. Polished everything.

While cleaning it up I broke off one of the screw attachments that goes through the hammer and acts as hammer pivot. I fixed that with a 5/32 drill bit and taper roll pin. I need to clean that up.

Started on the wood grips. They still need some work for final fit. 

Here is where we are now:


Wednesday, March 26, 2014

New Project

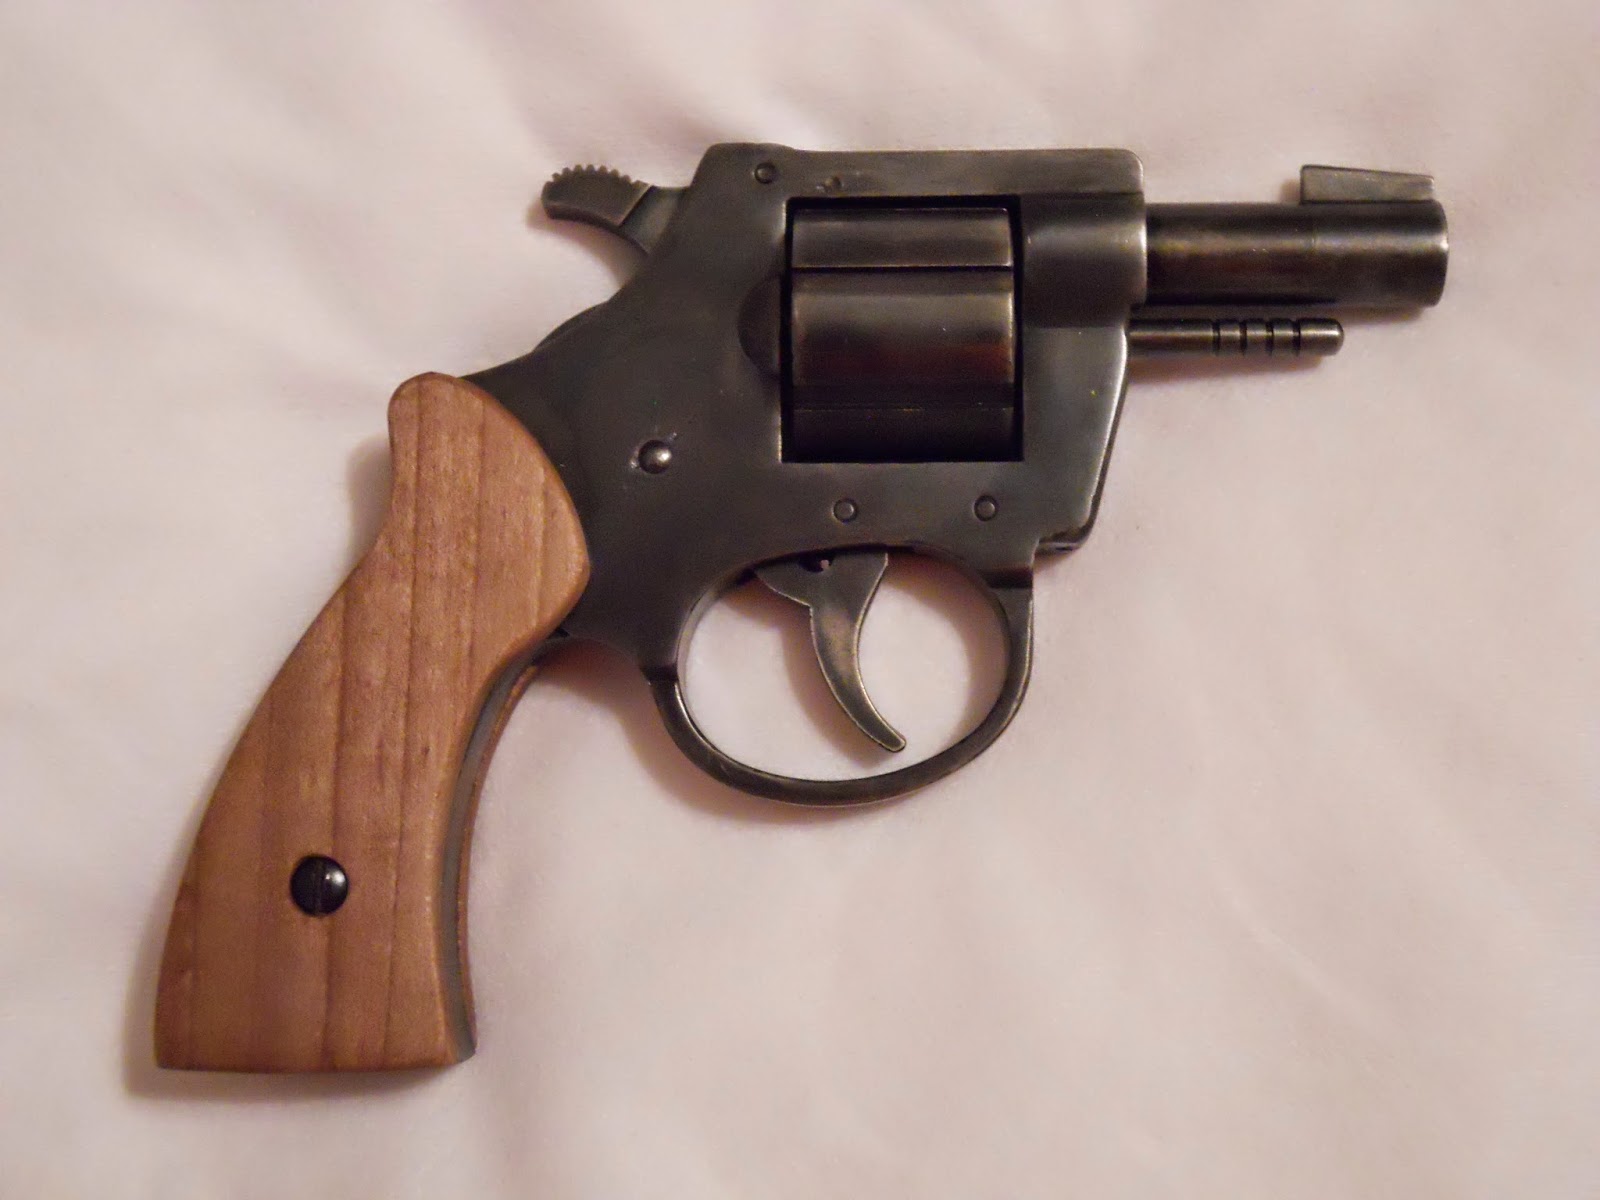
The pistol pictured below is an ARMSCO  59 22 caliber revolver. It was made in Nashville TN somewhere between late 1940's and  1950's by Freidmans Army Navy Store. They originally sold for anywhere between $12 and $25. The revolver is strange because you pull out the pin that the cylinder is on and remove the cylinder to load/unload the gun. The pin on mine is just held in by a small clip. Later models had a threaded pin. I guess the pin could fall out. I bought it from a guy at the range and got the pistol, a holster and some ammo for $45. There is a screw missing and one grip is broken but other than that it's all there. I did not buy it to shoot it, I bought it to see if I can fix it up.I'll shoot it a couple of times and put it away.

The gun was very cheaply made. I am not sure but the barrel is not rifled. This thing probably is as accurate as throwing bricks at someone. The trigger pull almost took two hands but after I took it apart and cleaned and oiled it it is better but still very stiff. The gun was sold to me as a working gun so I am gong to the range and shoot it before I really start working on it. I have actually found a place to get parts.

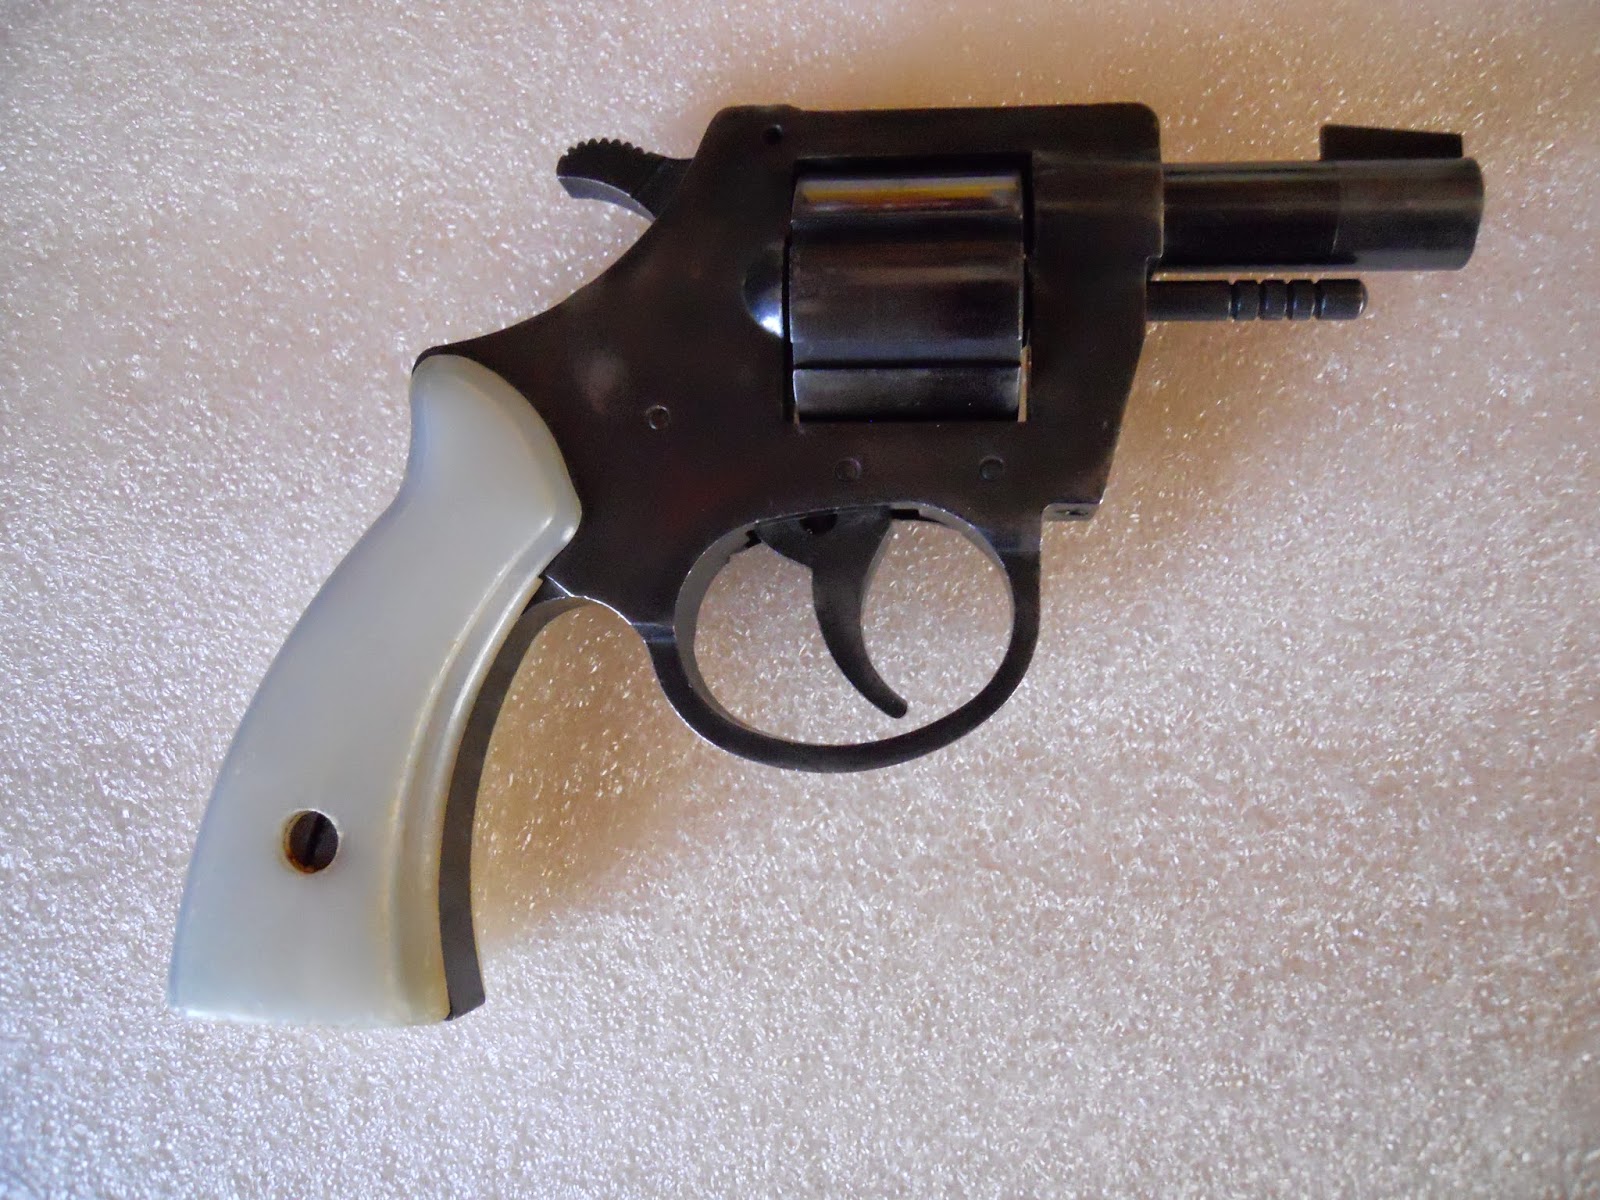
This is the gun as purchased. Note missing screw.


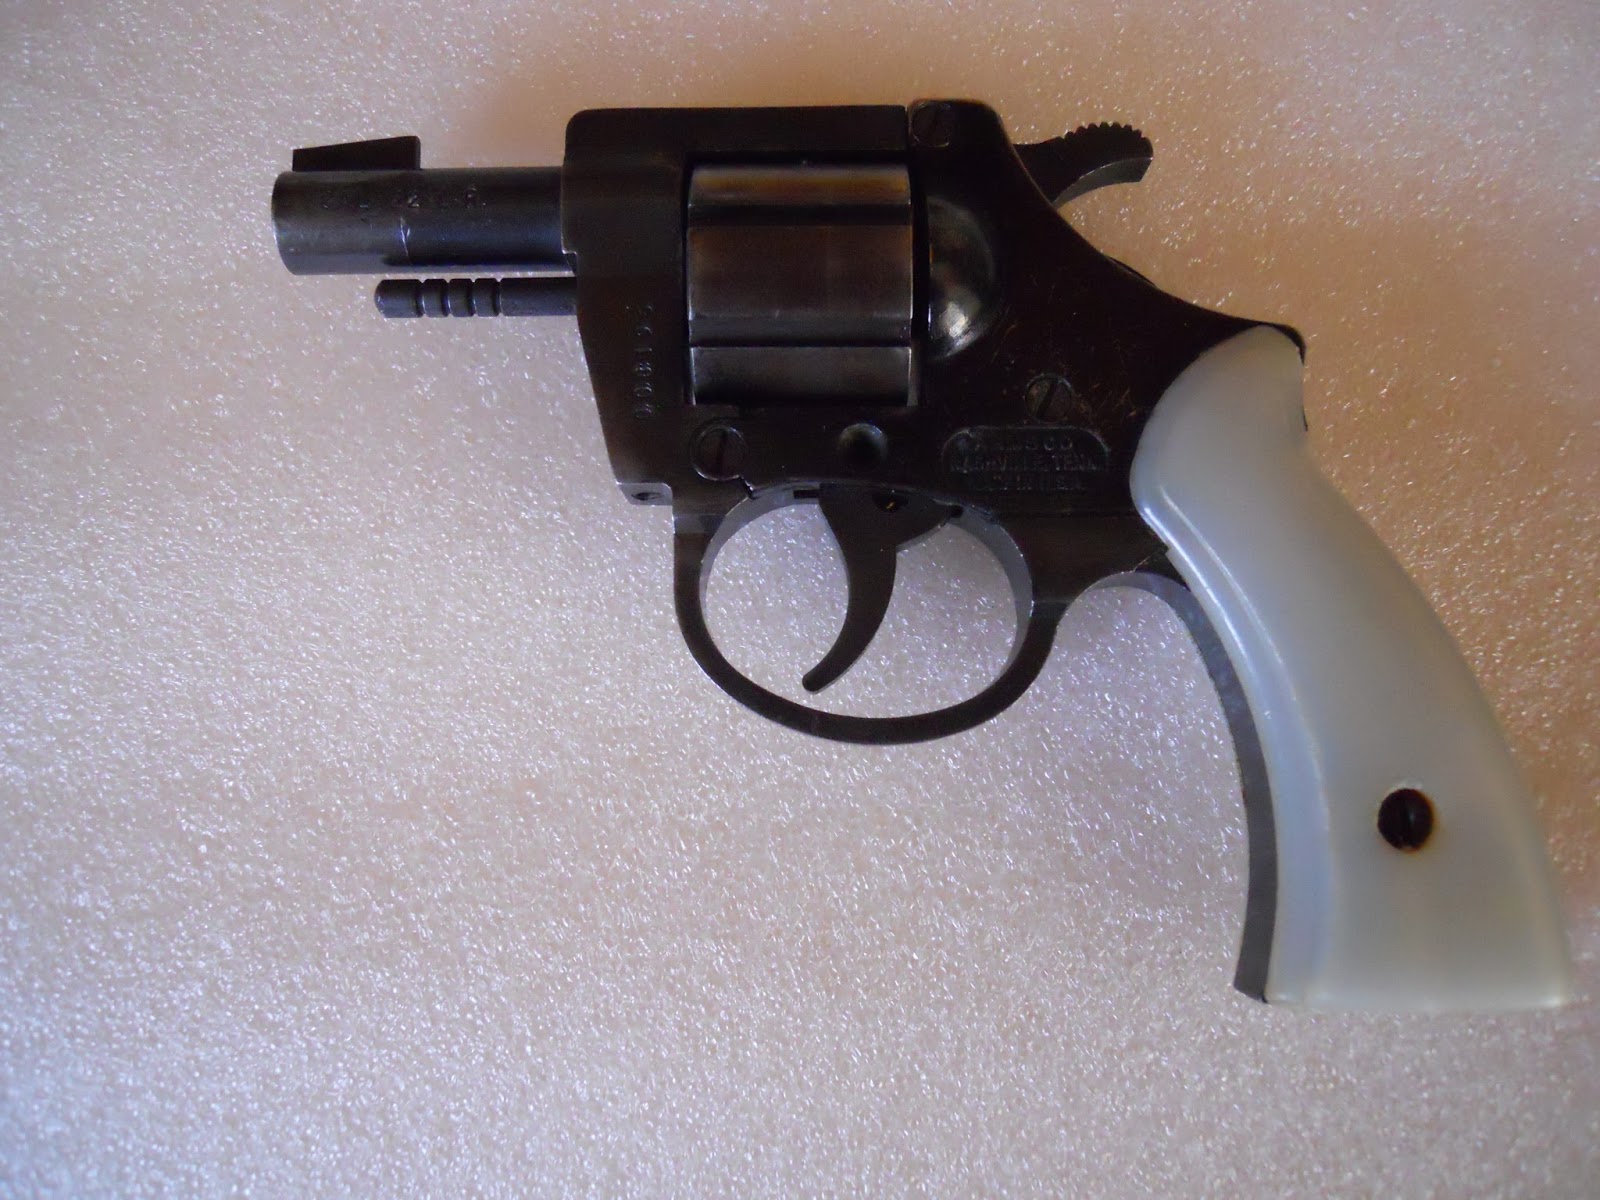
This shows how to load/unload.


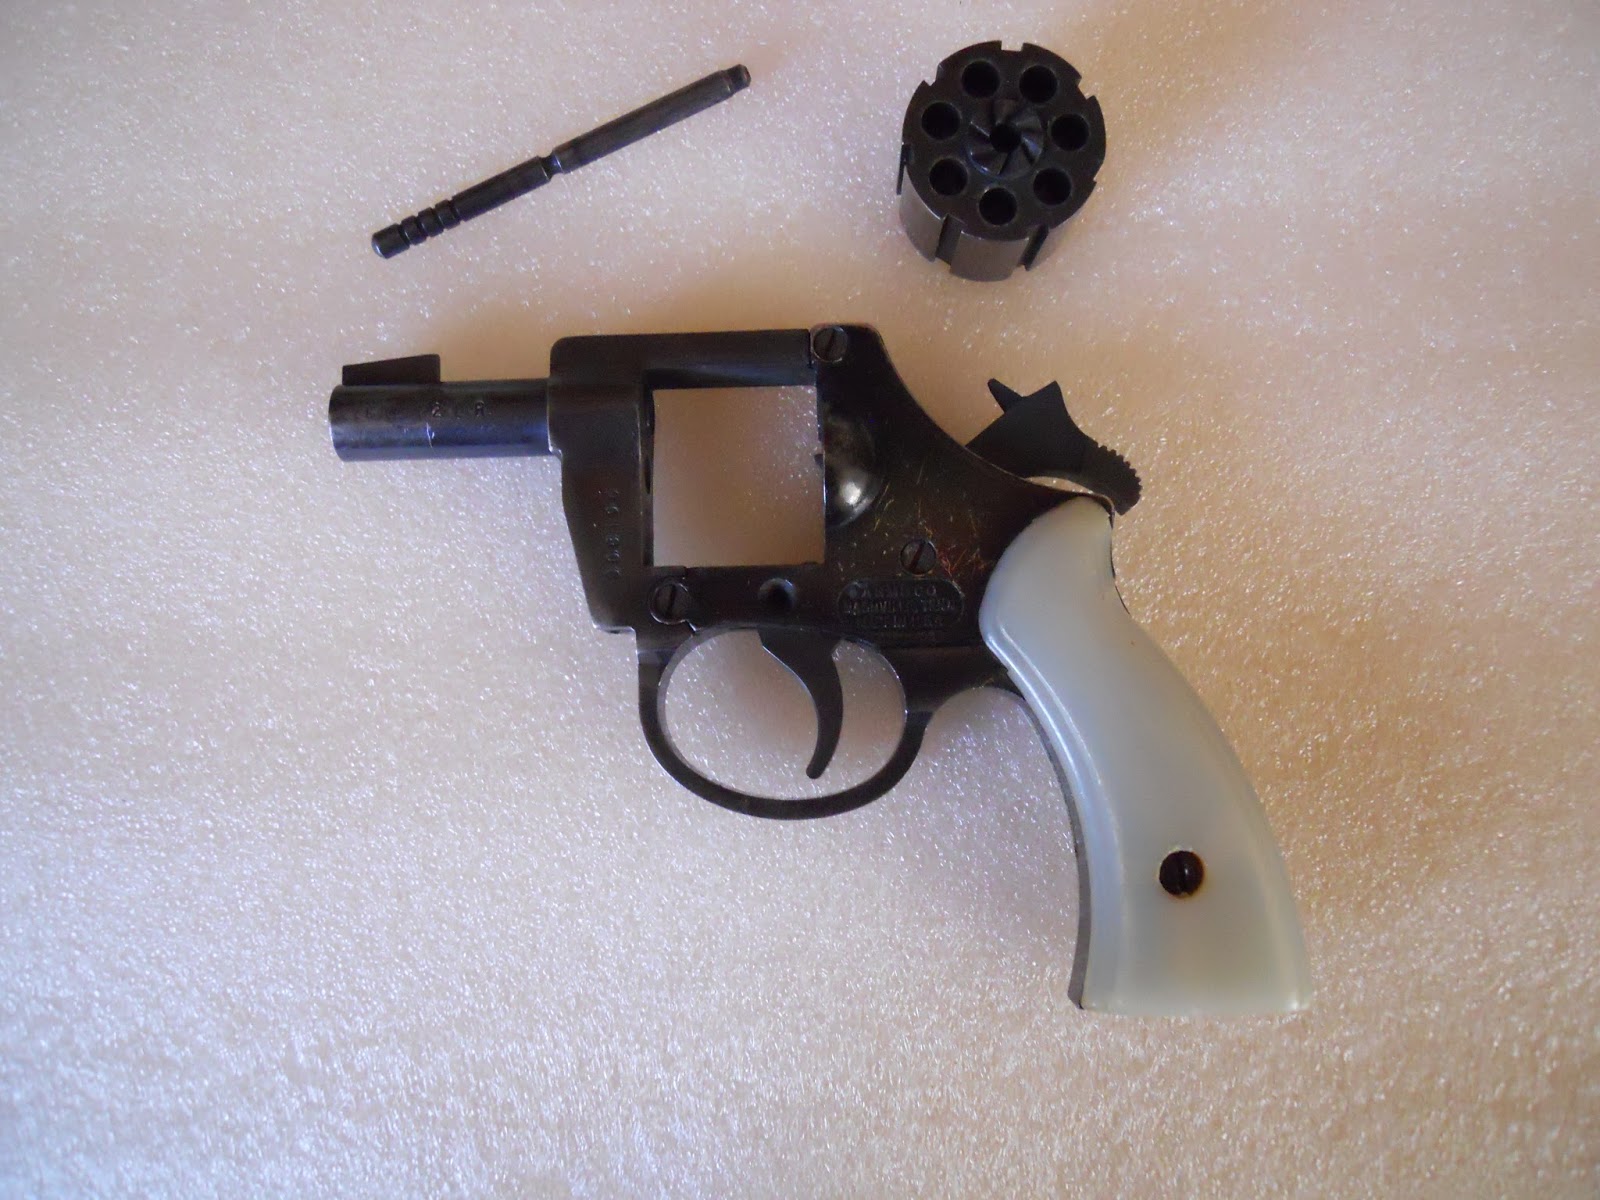
This is it apart. There was a lot of rust and gunk on the inside.


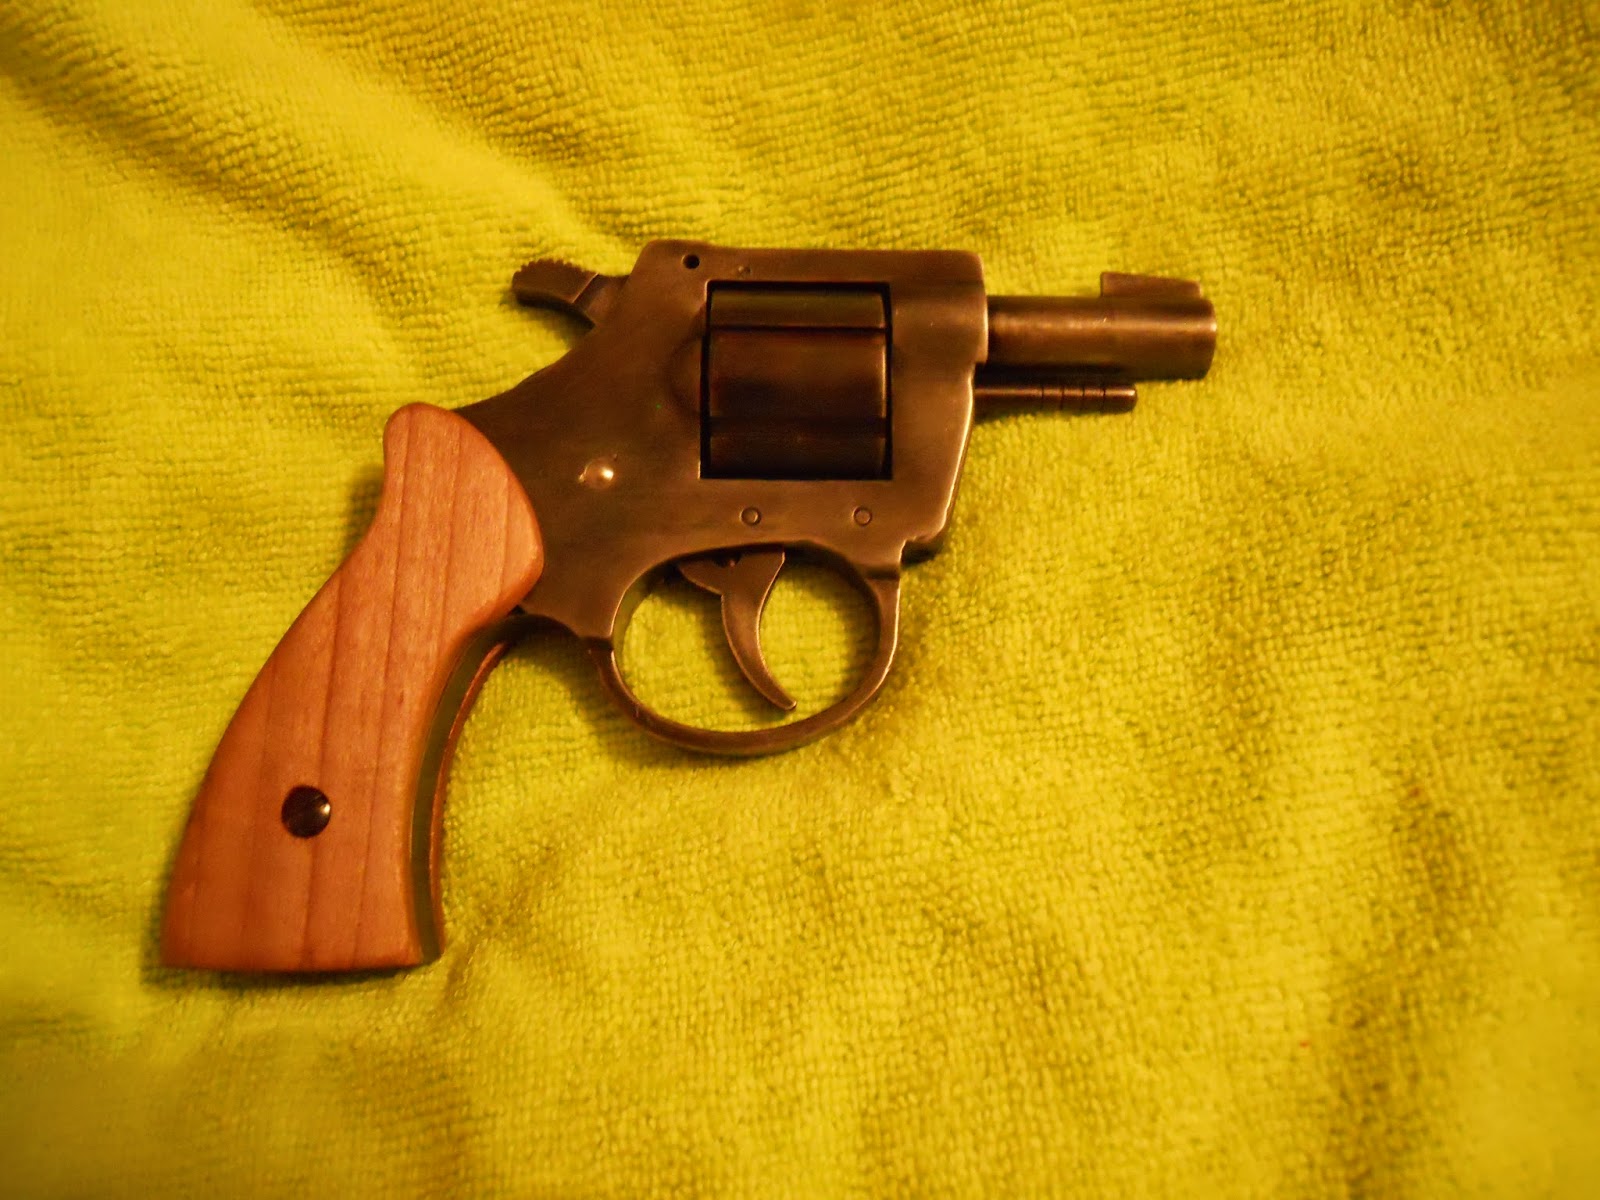
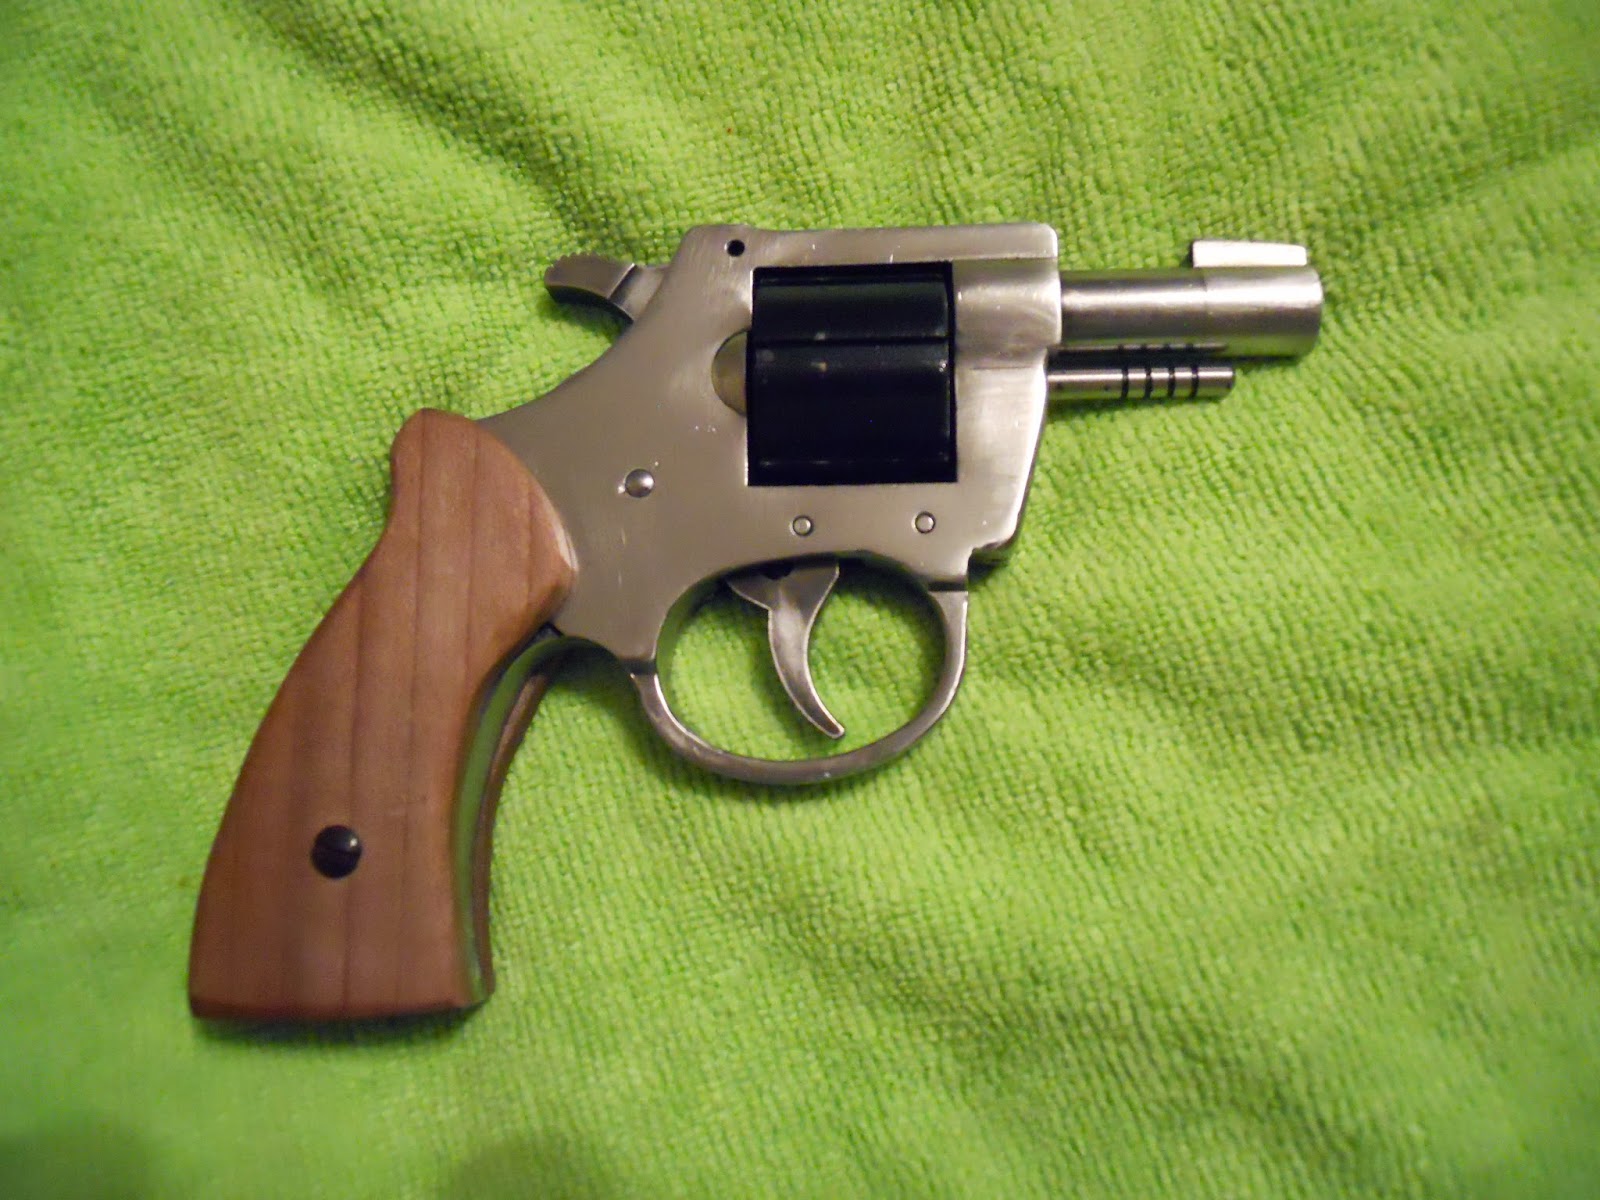
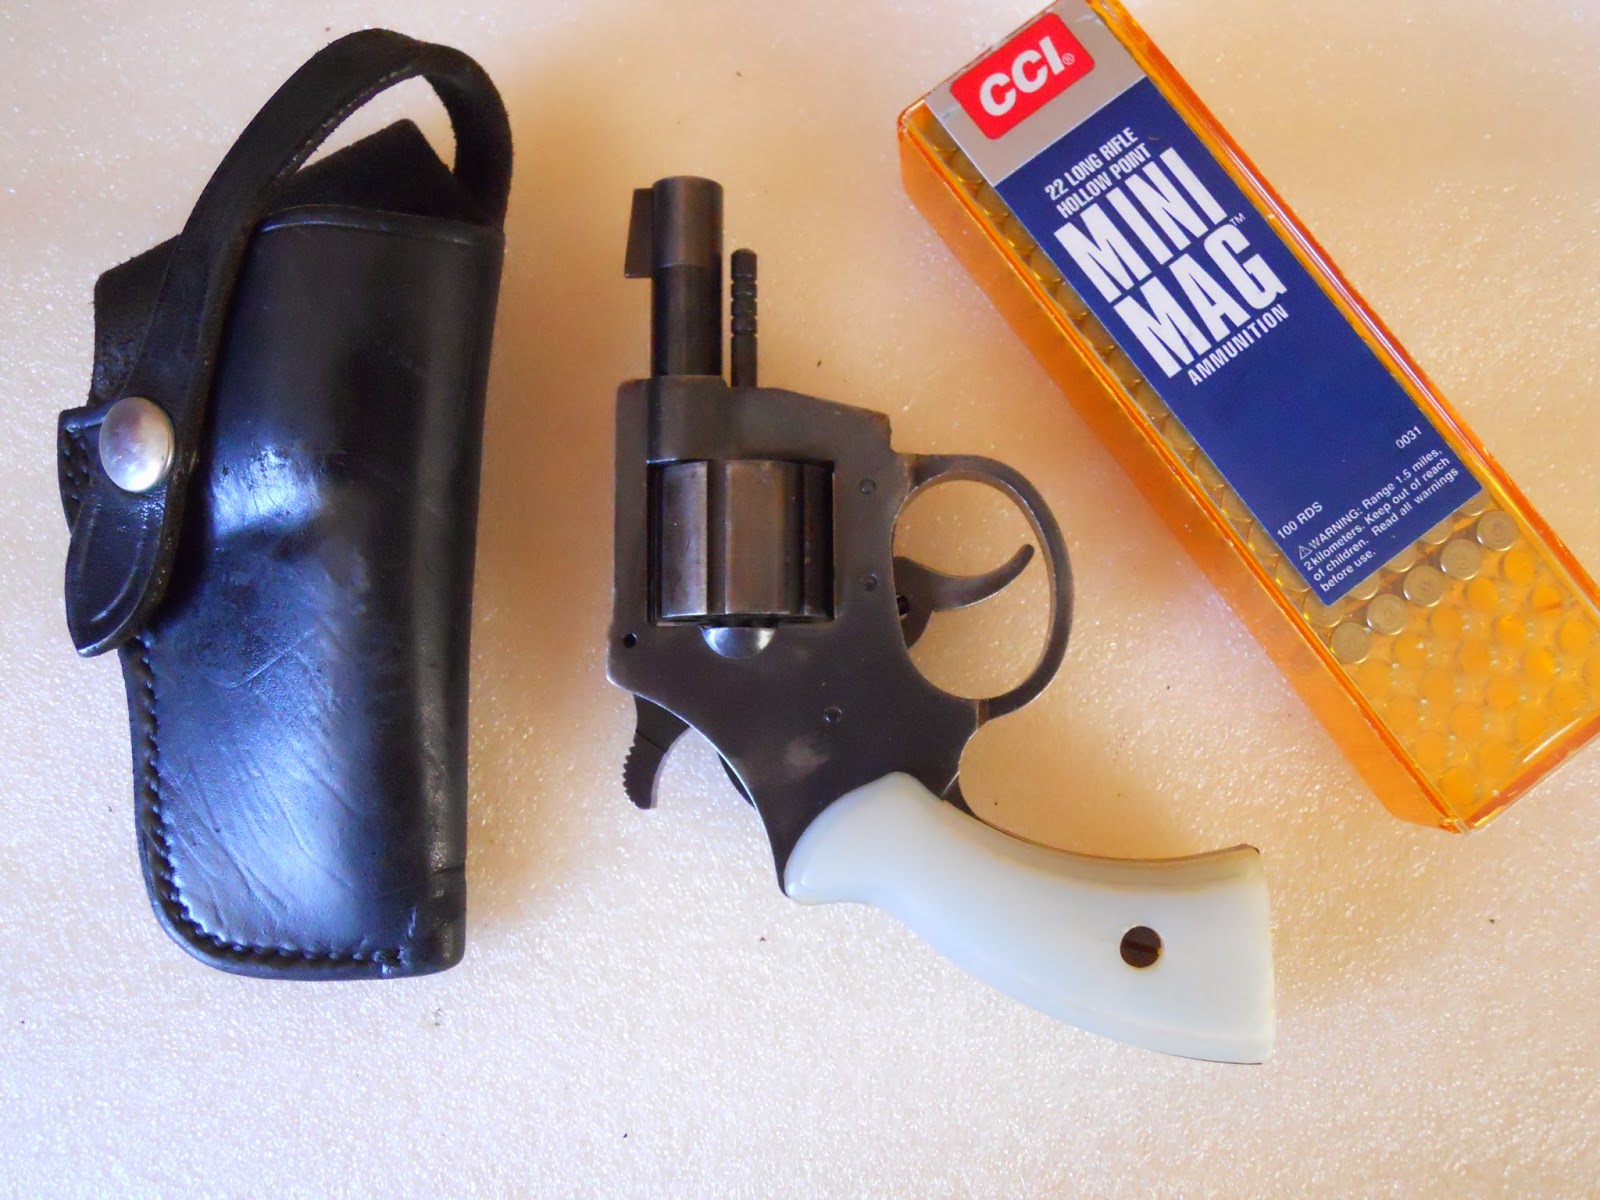
Here it is back together with the holster and ammo.


I have found a place to buy parts and will replace all screws and springs. Possibly a new hammer in case I screw up the old one trying to get the trigger pull down to a manageable level.

UPDATE (3/27/14) - Took it to range today and it worked fine. Tough to figure out how to aim it but it shoots straight. It is now completely broken down again and sanding/polishing has started.


Tuesday, March 4, 2014

More changes to the Ruger Blackhawk

First off I love the gun. I can shoot it very accurately and even in 357 it is loads of fun to shoot. I have this problem of not being able to leave things alone so I have taken the gun completely apart, which is fairly easy compared to a Smith & Wesson, and made some changes. First I replaced the existing hammer with one from a Super Blackhawk. That hammer is a bit lower and eaiser to reach for cocking the gun. It was a pain holding everything together to get it back in the gun but it went in eventually.

Next is some trigger and hammer shims. Rugers are well built, strong and dependable and at $150 less than a comparable Smith & Wesson there are corners cut. The fitting of moving parts, while servicable, could use some work. A couple of .003 or .005 inch shims and some lube smooths everything out. While the gun is apart some minor polishing also helps.

Next are the trigger and hammer springs. I haven't done this yet but I am for sure going to lighten up the trigger spring. The hammer spring is another story. The experts say a lighter hammer spring adds to the time between the trigger being pulled and the hammer striking the firing pin. This could make the gun less accurate.

Since I am getting a thrill out of working on the gum I will reduce the hammer spring and if it hurts accuracy I will put the old one back in.

Here is a pic with the new hammer. Hopefully you can see the difference from the picture from previous post. This pic also shows the grips I made. The originals were a bit short and slippery. This was my first attempt at making grips. I have bought a set of Hogue grips and usually have them on the gun as they are really comfortable and absorb most of the recoil.